New features in ver 2.1.17
Note: Programs created with this version should not be opened with 2.1.9 and earlier versions.
1. Place objects at the tapped (clicked) position
You can now tap (click) anywhere on the scene editing screen to add an object.
- Click the “BG Settings” icon in the upper left corner of the scene editing screen.
- The “BG Settings” screen will appear. Tap (click) on the image area.
- Select an object on the screen that appears.
- Tap (click) any position on the scene editing screen to place the object.
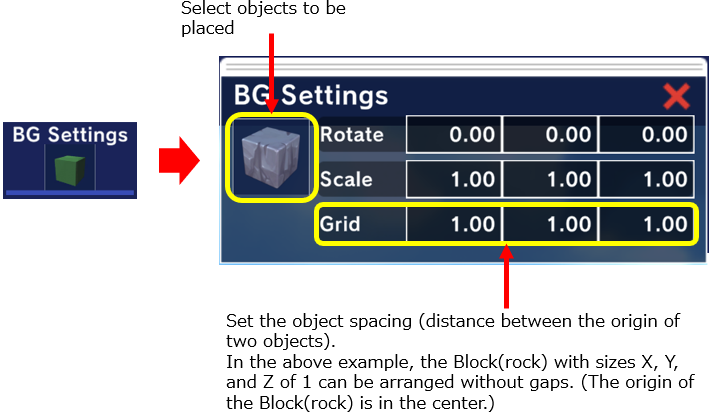
The “BG Settings” screen allows you to select objects to be placed, as well as to set the angle, size, and spacing of the objects to be placed.
2. Select multiple objects
Multiple objects can now be selected at once. You can delete a group of objects or copy the physical settings of another object to multiple selected objects at once.
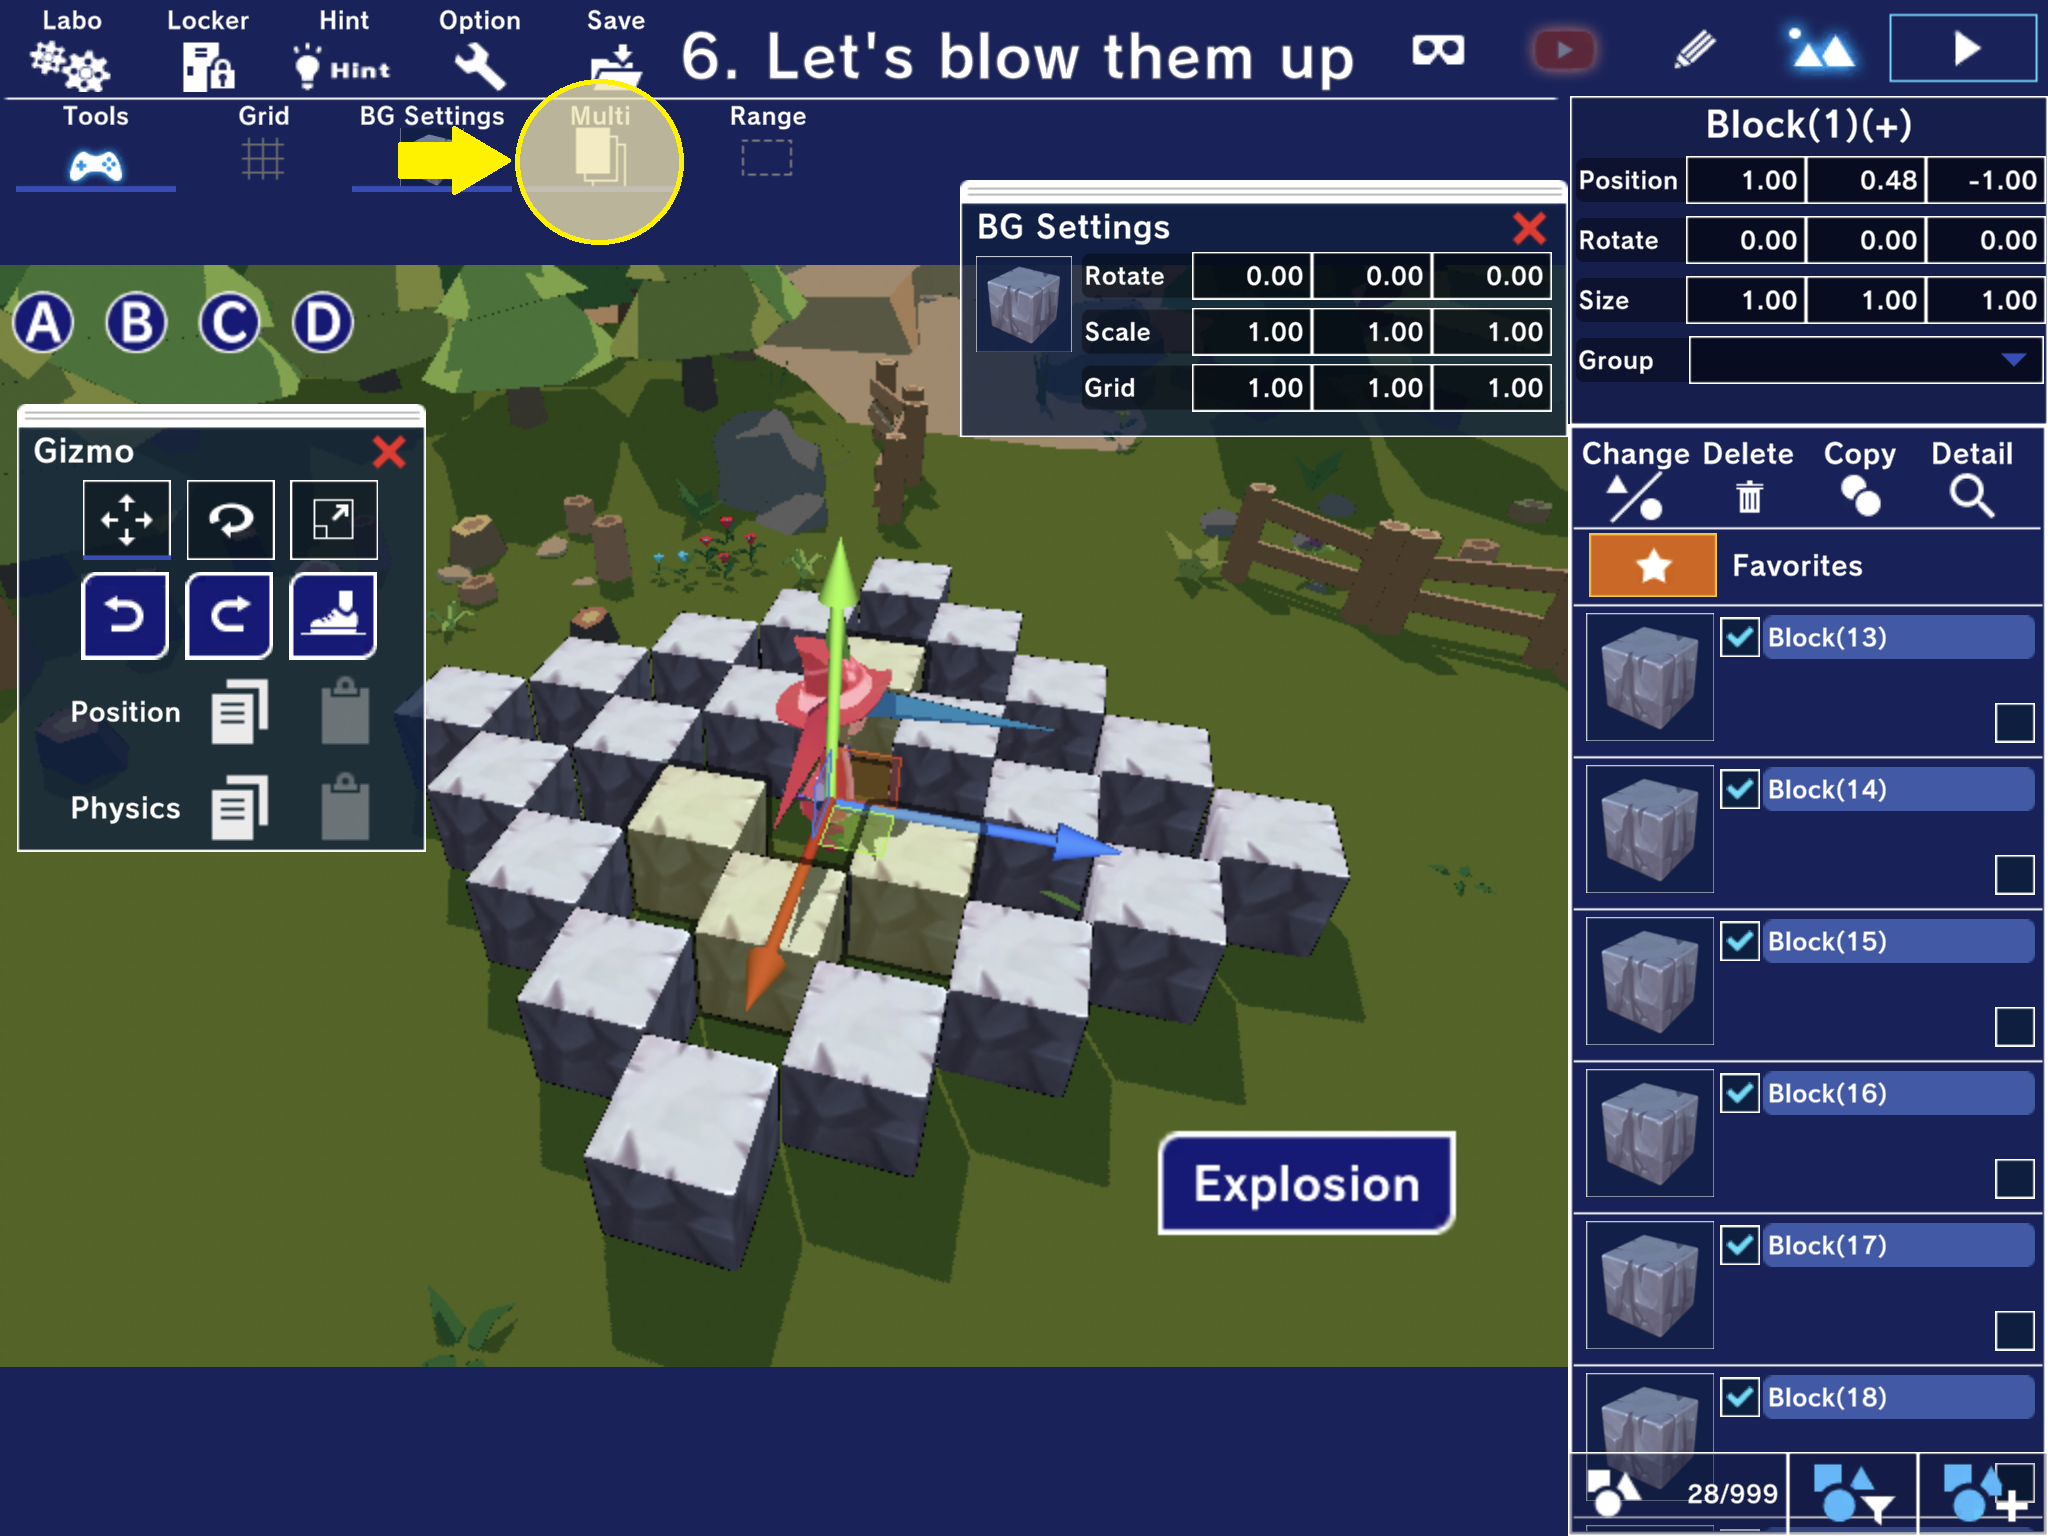
<Multiple selection>
- Turn on the “Multi” icon in the upper left corner of the screen and tap (click) on multiple objects you want to select. The selected objects will change color and start blinking.
- Instead of turning on the “Multi” icon, holding down the Ctrl (control) key to select results in the same result.
- Selecting an object in the object list results in the same result
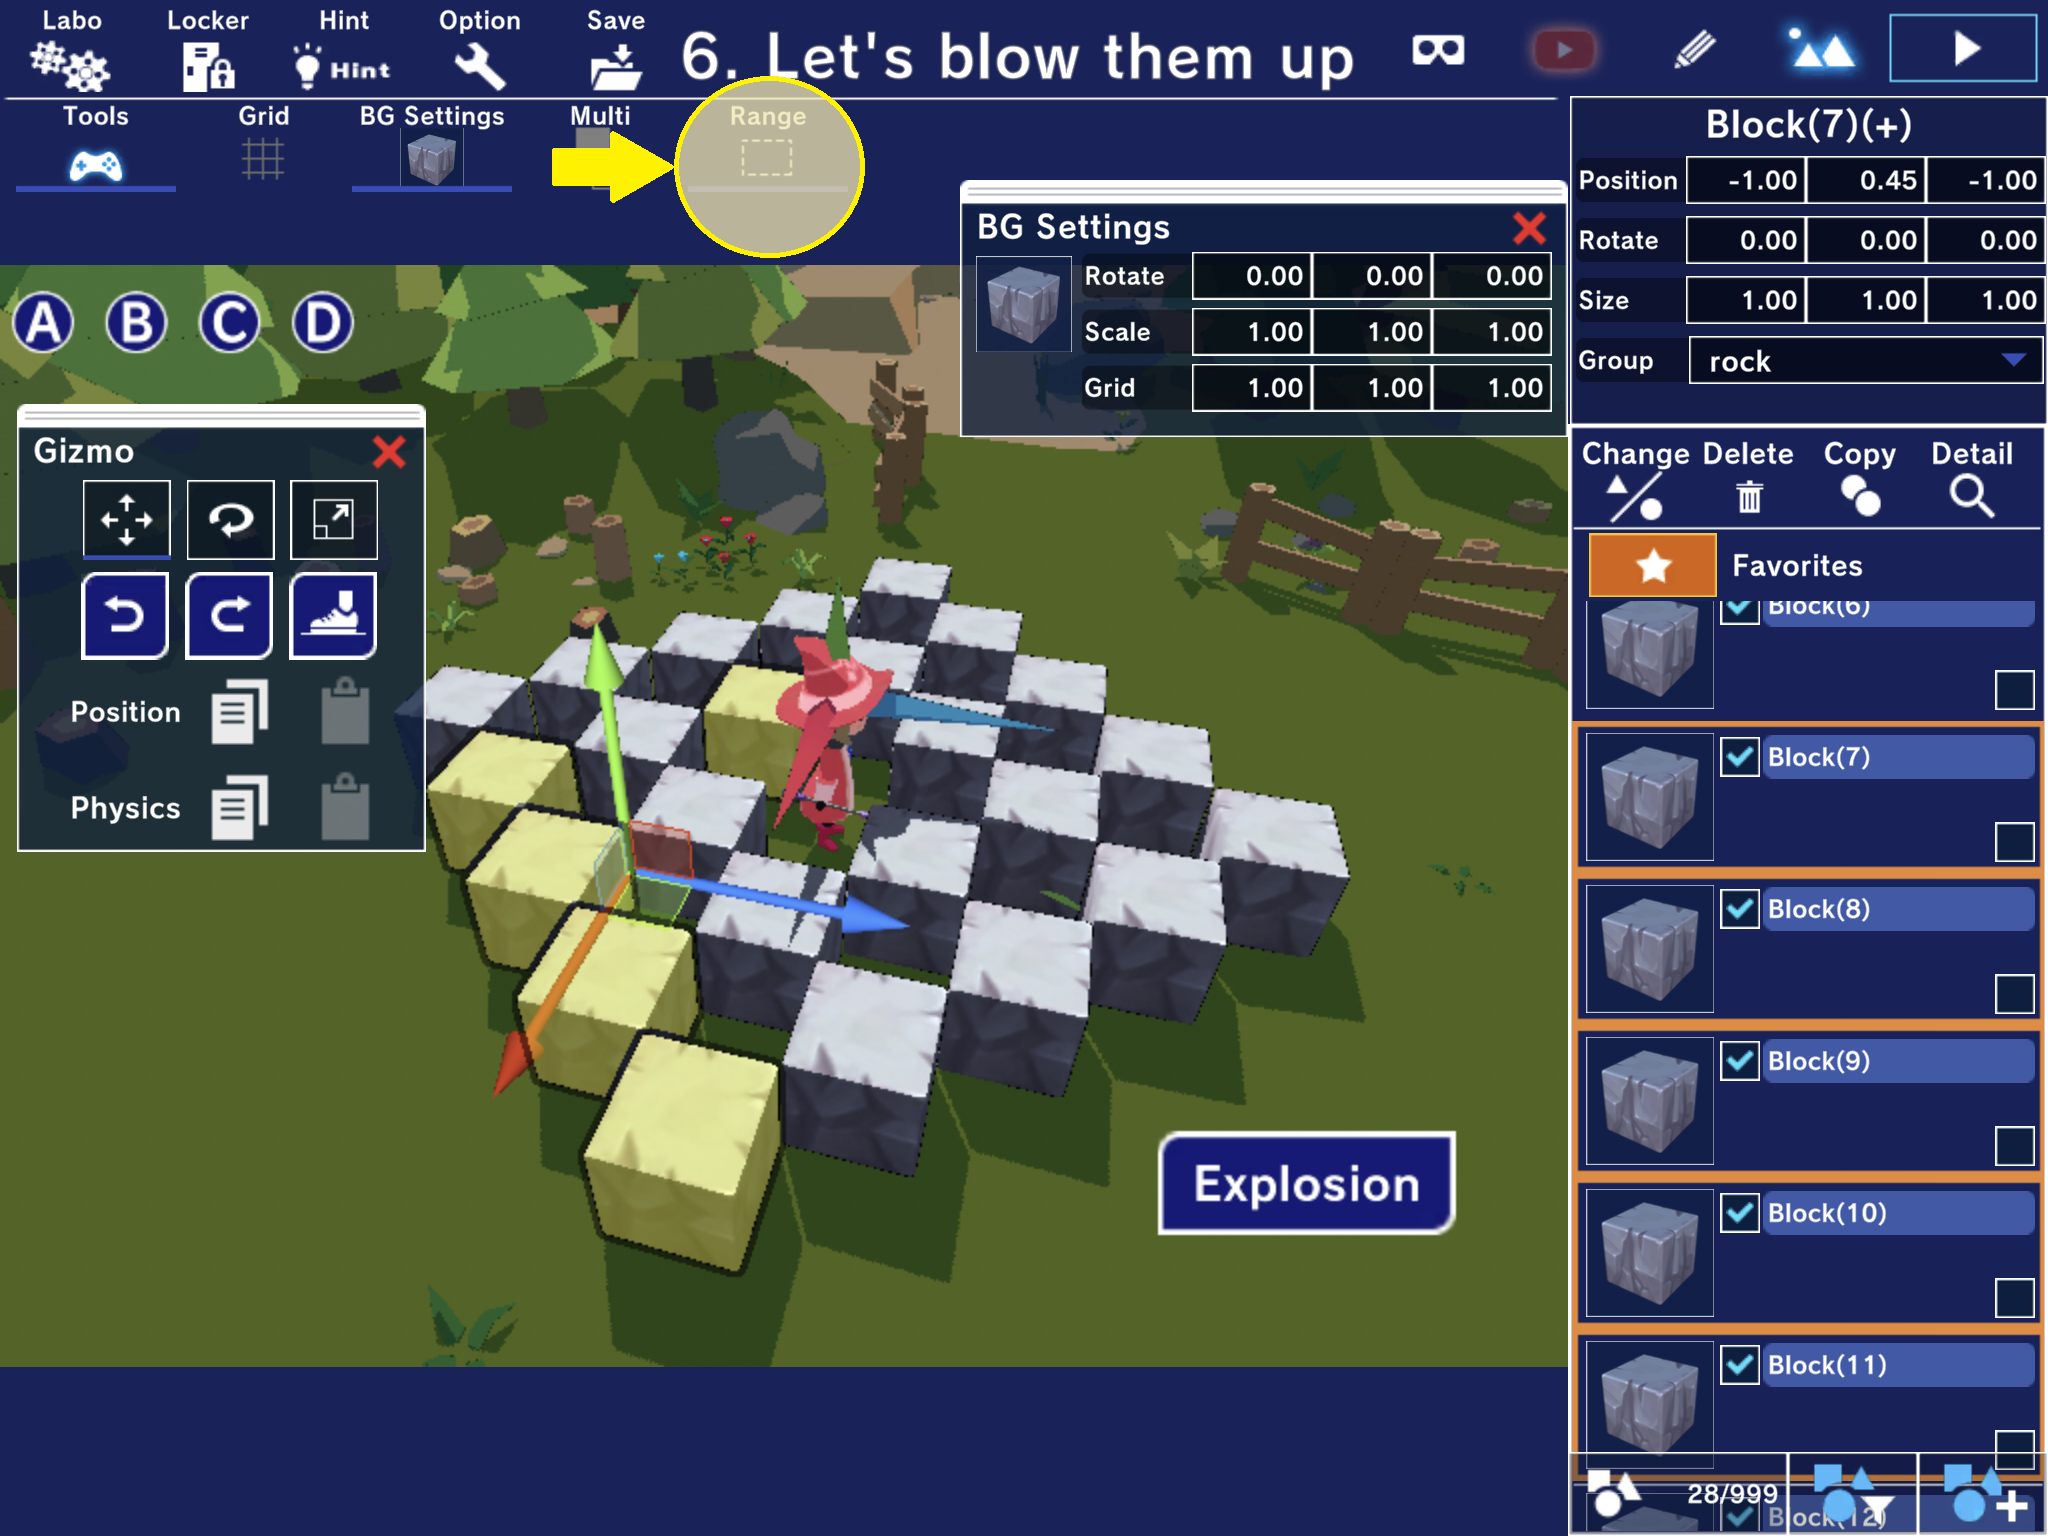
<Range selection>
- Turn on the “Range” icon and tap (click) on the first and the last object in the object list to select all objects in between.
- Instead of turning on the “Select Range” icon, holding down the Sift key on the keyboard to select results in the same result.
3. Copy physical settings
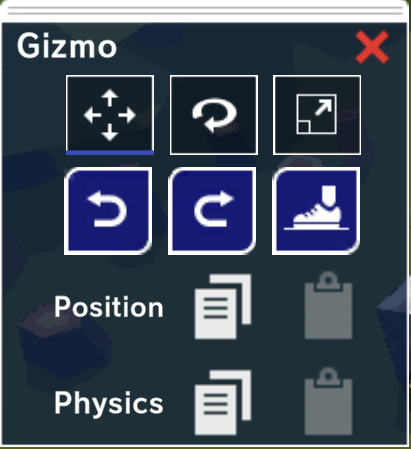
The physical settings of an object can now be copied and pasted to another object. You can also paste them to multiple objects at once.
4. Group settings on the scene editing screen
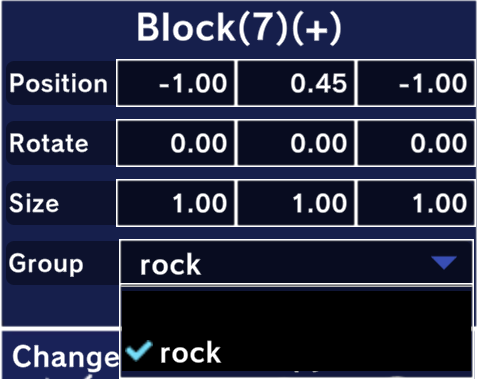
Group settings can now be set on the scene editing screen. As before, thye can also be set using block instructions.
- Create a group in the “Expansion” settings of the editing screen.
- Select the group you created in “Group” in the upper right corner of the scene editing screen.
- Tap (click) the objects you want to group in the object list.
- The objects will be grouped.
5. Connect objects
Objects can now move like they are connected by a hinge. An example of its use is shown in “Newton’s Cradle” in the “New Features” lab.
6. Add a new lab
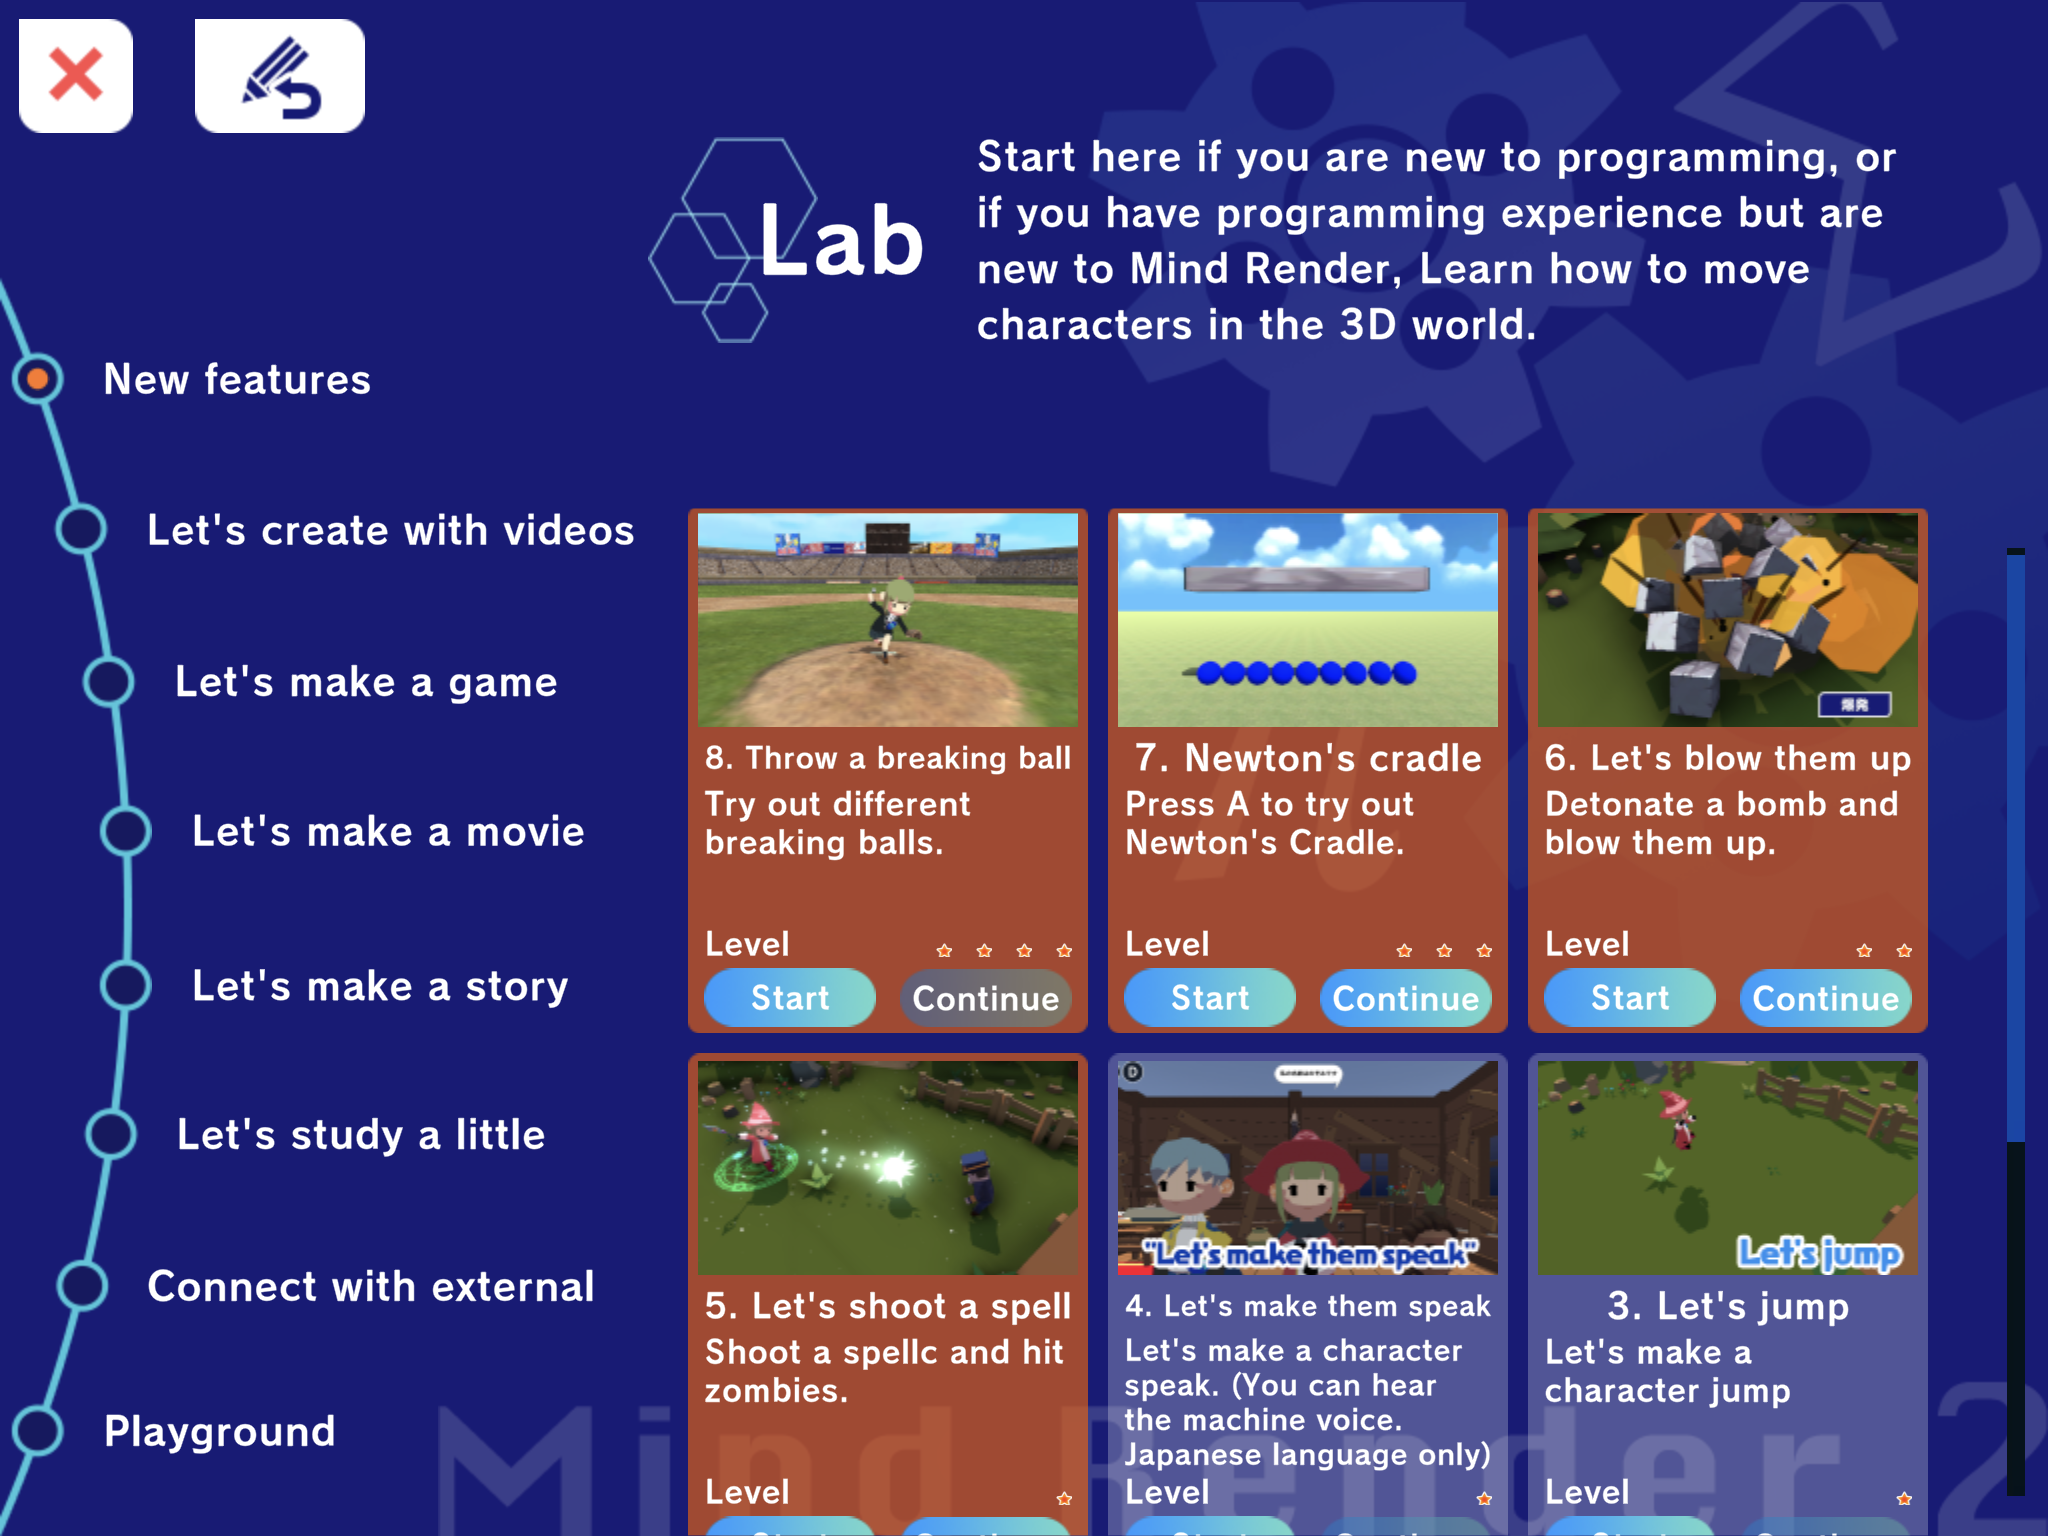
New lab “Let’s create with videos” has been added. You can create various games by referring to videos.
7. Dialog confirming deletion

You can now set whether or not to display a confirmation dialog before deleting an object.
It is located in the “General” tab of the ” Option” menu.
The default setting is “Yes”.
8. Add background and objects
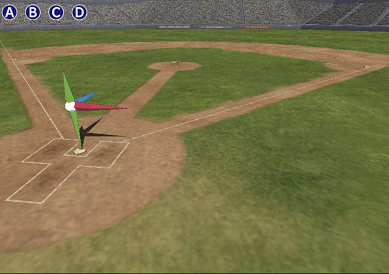
Added a baseball field background and ball, bat, and glove objects.