New features in ver 2.3.21
1. Racing Games Added to the “Build it in 30 Minutes” Lab
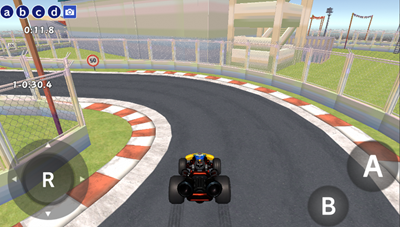
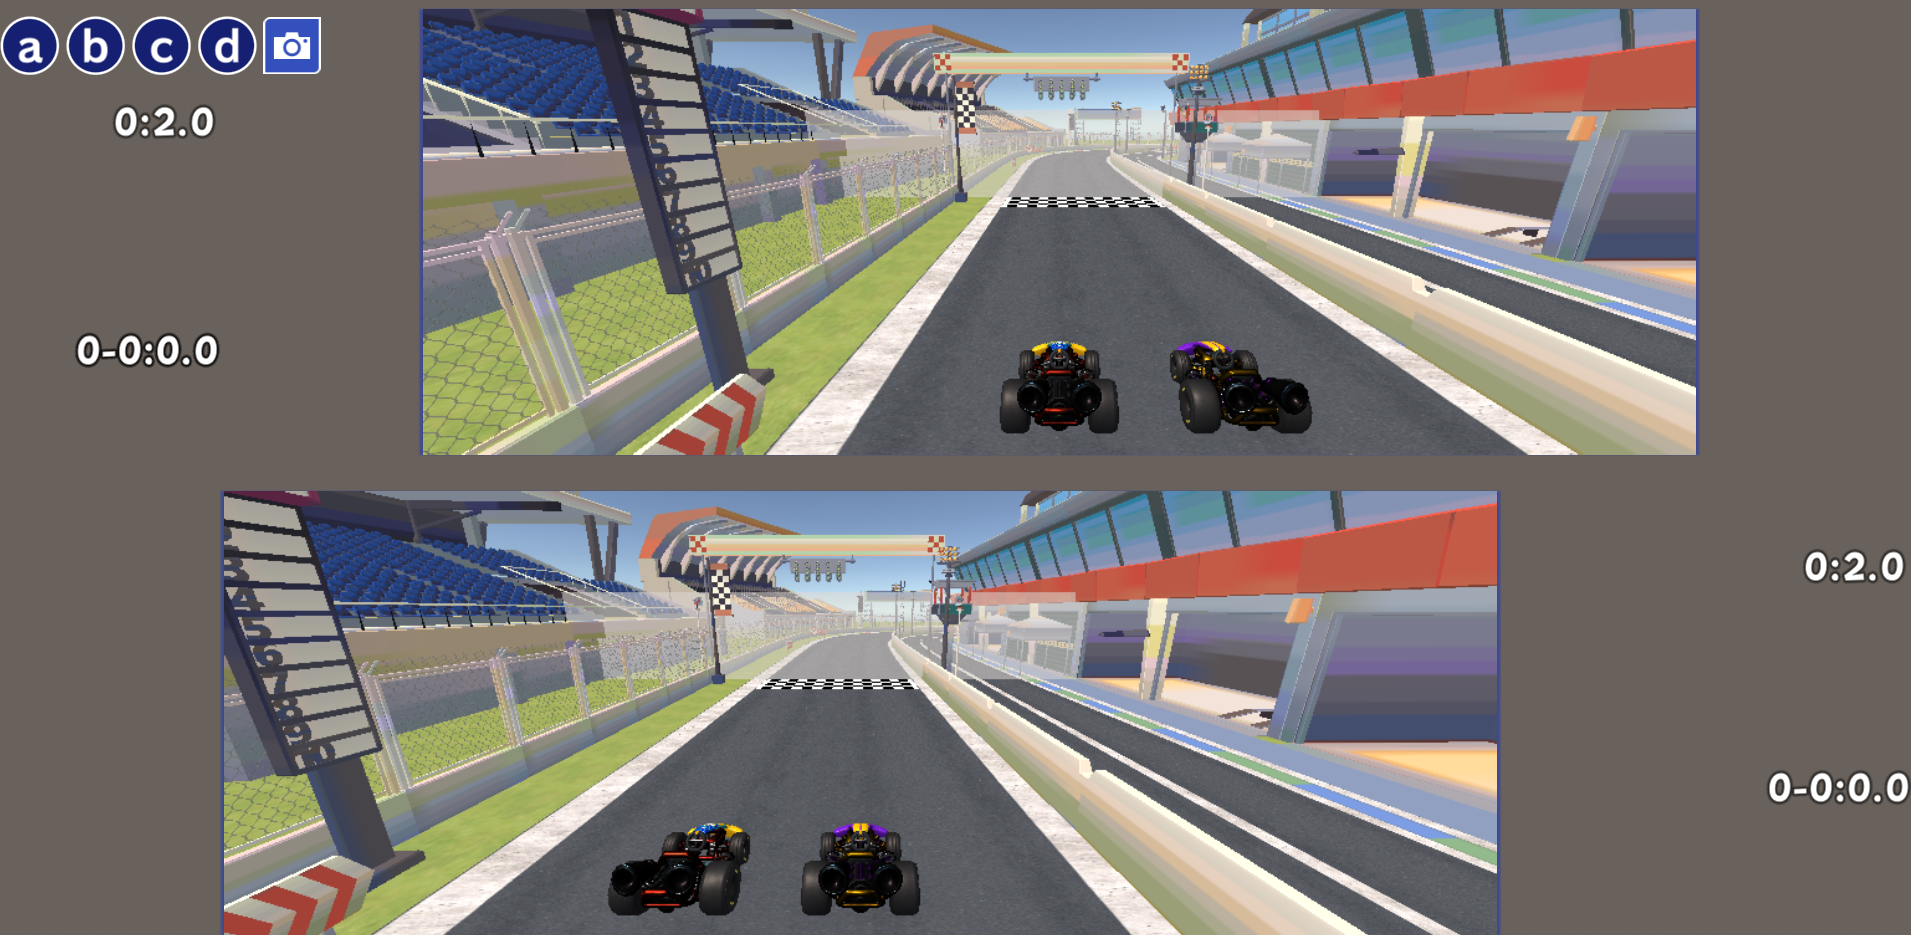
We’ve added new games to the beginner-friendly “Build it in 30 Minutes” lab: the single-player racing game “Solo Time Attack” and the competitive racing game “Versus Time Attack.”
Text guides are also available, so you can not only play the games, but also create them yourself and customize them in your own way.
The text guides are available in the app and here.
*Tutorial text is currently available in Japanese only.
2. Image Upload Feature Added
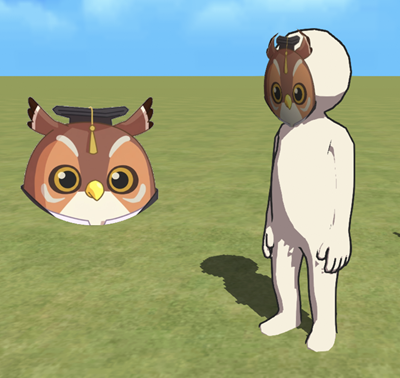
We’ve added a new feature that allows you to upload images.
Images can be uploaded from the Upload tab in the Locker. To use uploaded images, please use the objects introduced in “4. Added Objects” below. You can place them on the screen as images, attach them like masks to a 3D model “Body”, or apply them to a car hood.
Please note: Uploaded images cannot be made public. If you publish a program that includes uploaded images, those images will be replaced with the Mind Render logo image. However, if you share the program using a shared code, the uploaded images will still be displayed.
You can view a sample program in the following lab:
Create > New objects > 57. Use Your Favorite Image!
3. New and Updated Blocks
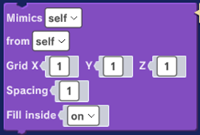
We’ve added a new block that lets you create clones within a specified range. This is useful, for example, when you want to fill a certain area with cubes.
You can view a sample program in the following lab:
Create > New Object > 57. Use Your Favorite Image!
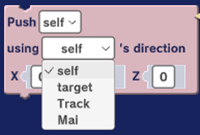
We’ve also updated the push from behind block so that you can now select the object used as the reference for the push direction.
4. Added Objects
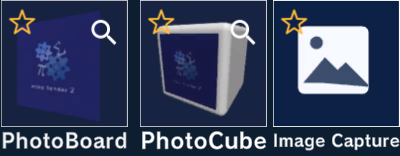

We’ve added new objects that let you apply uploaded images: Photo Board, Photo Cube, and Image Capture.
PhotoBoard
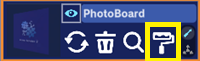
Photo Board (in the Material category of the Model tab) is used when you want to apply an uploaded image to a 3D model.
(1) Add a Photo Board, then select an uploaded image using the Paste icon in the object list.
(2) Use the “Set [ ] as parent of [ ]” block to specify the parent object you want the PhotoBoard to be attached to. When the parent object moves, the PhotoBoard will move along with it.
Please note: By default, the side of the PhotoBoard with the image applied is facing away from the screen, so the image will not be visible. Setting the Y-axis rotation of the PhotoBoard to 180 degrees will make it face forward.
PhotoCube
PhotoCube (in the Material category of the Model tab) lets you apply an uploaded image to one face of a cube.
(1) Add a PhotoCube, then select an uploaded image using the Paste icon in the object list.
(2) The image will be applied to the cube.
Image Capture
Image Capture (in the Tool tab) allows you to place an image as a 2D image.
(1) Click Add Object button > Tool tab > Image Capture.
(2) Select an uploaded image using the Paste icon in the object list.
You can view a sample program in the following lab:
Create > New objects > 57. Use Your Favorite Image!
5. Help Screens Updated
We’ve updated the help screens for the Program Editor and Scene Editor.